
A new door profile is where the surprises live. A bit that looked great in the catalog leaves a round corner you didn't expect. A fake joint line comes out finer than you pictured. You find out on the first door, with the customer's MDF on the table.
Ten minutes in VCarve Pro before you cut will show you most of it. Here's the setup I check once, the render trick I use on every new profile, and why I still cut a test door.
Set up once
- Your bits. Open Setup in the designer and enter your tool numbers. Run a tool changer? Add the pocket numbers too. Every job after that calls the right bit.
- Your sheet thickness. Measure the MDF, don't trust the label, and set your VCarve job to what you measured. The cutout depth follows it, so you cut the door free without chewing up the spoilboard.
- Your hold-down. One-piece doors need a vacuum table. A door that's mostly pocketed out wants to move.
The render trick: shrink the sheet
VCarve Pro's 3D preview is good, but it spreads its detail across the whole job. On a full 4x8 sheet, one door gets a small slice of it, and the things you care about on a new profile (the inside corners and the joint lines) turn to mush.
So give it one door:
- Make the sheet small. Set the sheet in the designer, and your VCarve job, to just a couple of inches bigger than one test door.
- Turn the render quality up to max.
- Import the door and preview the toolpaths.
- Zoom in. Now all the render's detail is sitting on that one door, and you can see what the bits will really leave.
Do this every time you try a profile you haven't cut before. It costs a few minutes and it can save a sheet.
What to look at
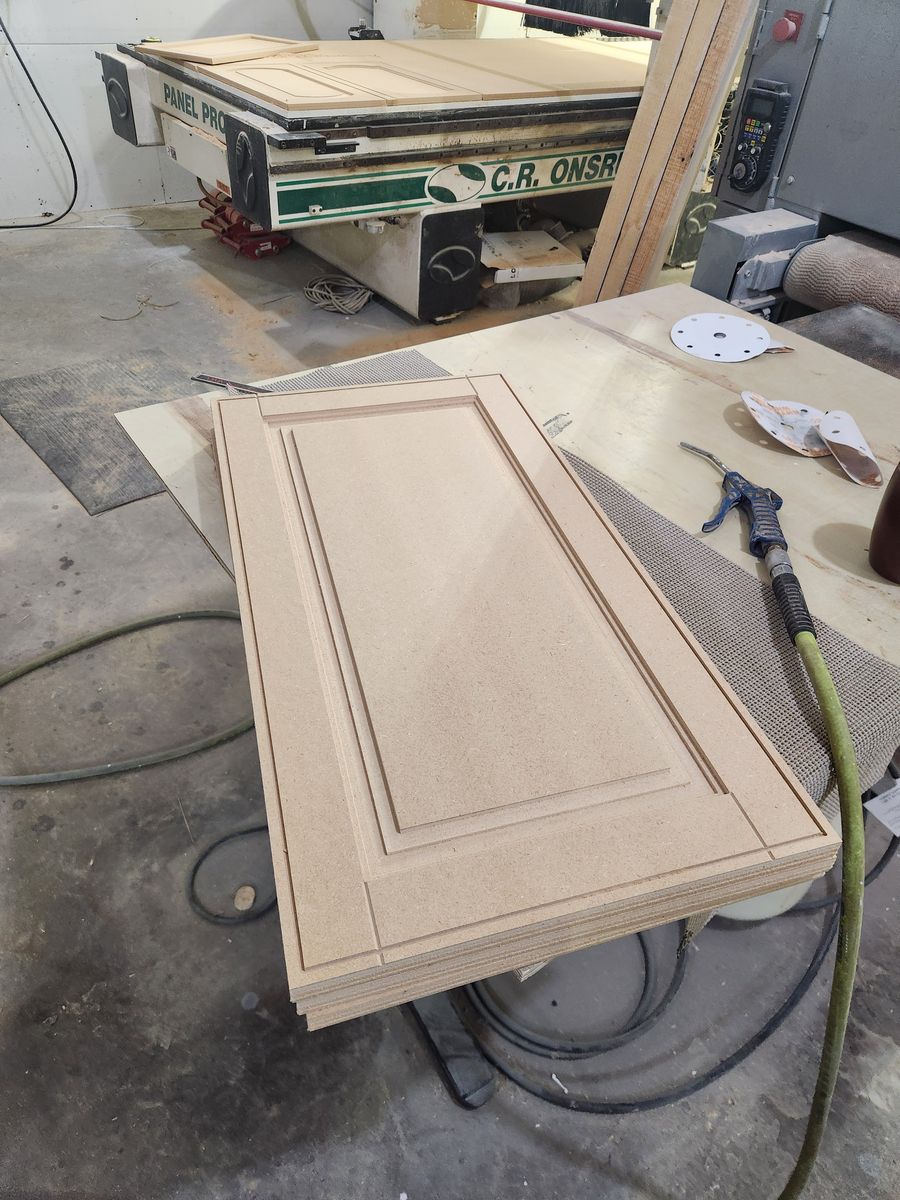
- Inside corners. A router bit is round, so every inside corner gets a radius the size of the bit at that depth. Small bits leave a small radius; a big form bit, like an ogee, leaves a big one. Decide now if that's the look you want.
- Joint lines. The fake cope-and-stick and miter seams are a light scribe, 1/64" deep. They're meant to be subtle under paint, so they barely show even in a good render. Check that they run where you expect, from the edge of the door to the profile.
- Where the profiles meet. Edge, frame and panel profiles each look fine alone. Look at how they sit next to each other at the corners.
- The panel floor. Look for a clean, flat floor with no ridges left between passes.
New in this update: tighter corners on the Simple Ogee
The Simple Ogee frame now adds a 1/4" end mill pass around the opening, right after the ogee. It tightens the top of each inside corner from a 3/8" radius to a 1/8" radius, and the joint lines run up to meet it. It uses the same 1/4" bit as the cutout, so there's nothing new to buy.
Then cut a test door
A render shows you the shape. It doesn't show you how your MDF cuts, how your bits are holding up, or how the profile takes paint. Before a full job with a new profile, new bits or a new batch of MDF, cut one door. Look it over, sand it, and prime a corner. If it's right, run the job.
DoorFORGE is built on top of VCarve Pro and backed by The Homestead Workshop, a woodworking shop trusted by 24,000+ followers. I run it in my own shop.
Try a profile on one door
Open the designer, build a door, and run it through the small-sheet render. The standard shaker door is free, no account needed.
Open the designerFrequently asked questions
How do I get a better render of a door in VCarve Pro?
Shrink the job. Set the sheet just a couple of inches bigger than one test door, turn the render quality up to max, and zoom into the corners. On a small sheet the render puts all its detail on that one door instead of spreading it across a 4x8.
Why does my VCarve Pro preview look fuzzy on a full sheet?
The render's detail is spread over the whole job area. On a full 4x8 sheet each door only gets a small share of it, so fine details like inside corners and joint lines get lost. A small test sheet fixes that.
Why are the inside corners of my door profile rounded?
A router bit is round, so in an inside corner it leaves a radius the size of the bit at that depth. Form bits like an ogee leave the biggest radius. In DoorFORGE, the Simple Ogee frame now adds a 1/4 inch end mill pass that tightens the top of that corner to a 1/8 inch radius.
Should I cut a test door before a full job?
Yes. Any time you try a new profile, new bits or a new batch of MDF, cut one door, look it over, and prime a corner before you commit a sheet.
Do I have to set up my bits in DoorFORGE?
Once. Open Setup in the designer and enter your tool numbers (and pocket numbers if you run a tool changer). Every job after that uses them.
New to one-piece doors? Start with the easiest way to make MDF cabinet doors on your CNC, then see how the whole DoorFORGE workflow runs in VCarve Pro.